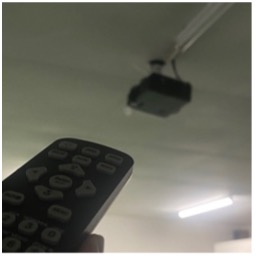
Livestream Guide
1. Turn on the camera’s switch at the back of the room.
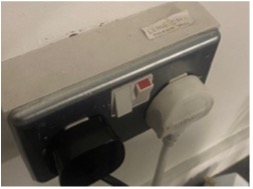
2. Collect church Macbook on the desk in the office.
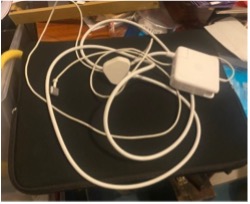
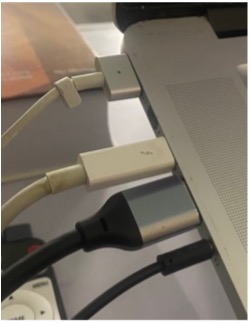
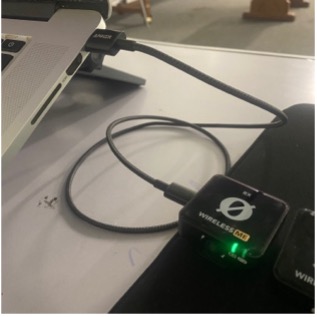
3. Turn it on and ensure the power, ethernet (via white thunderbolt adapter), camera (grey USB) and audio cables are plugged in on the left, and the Wireless Me (RX) on the right.
4. Visit StreamYard.com – it should already be signed in to the
[email protected] account. If not, sign in with Google and select that account – again, no password should be required.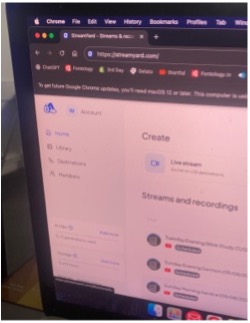
5. Click ‘Enter Studio’ beside the correct livestream.
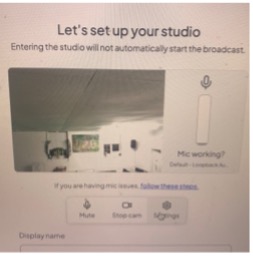
6. Select ‘Settings’ and ensure ‘Webcam gadget’ is the selected camera (Sunday evenings don’t need a camera) and ‘Loopback Audio’ the selected mic. Then press ‘Enter Studio’.
(Note: The mic won’t work until 15 mins before the service. See point 11)
(Note: The mic won’t work until 15 mins before the service. See point 11)
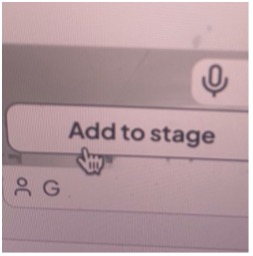
7. Click ‘Add to stage’ to enable the main camera and microphone. This could be a good time to position the camera using the remote.
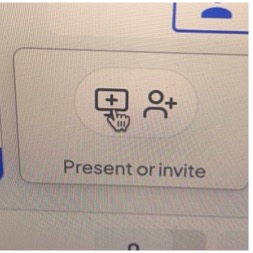
8. For Sun AM & Tues: Click ‘Present or invite’ > ‘Slides and PDFs’ > (if it is already listed, select it. Otherwise…) ‘Your computer’ > open PowerPoint from ‘Service’ folder & ‘Add to stage’.
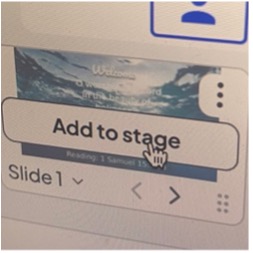
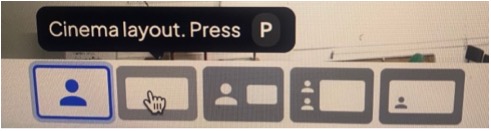
9. Use these buttons (or shortcut keys: C for Camera or P for PowerPoint) to switch views.
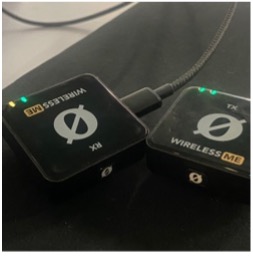
10. Connect the mics by holding both buttons in for a few seconds until all 4 lights are on, then plug the TX mic into the blue cable on pulpit.
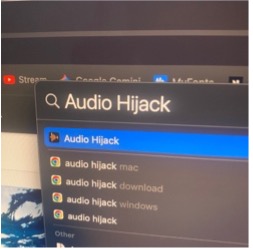
11. Audio Hijack auto-opens 15 mins before each service starts, activating the mic. Want to test the mic beforehand? Search for & open ‘Audio Hijack’ and then click ‘Run’.
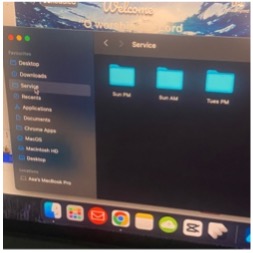
12. Open the ‘Service’ folder (on the left sidebar when you open Finder and in the ‘GBC’ folder on the Desktop) and find the files for the service you’ll be livestreaming.
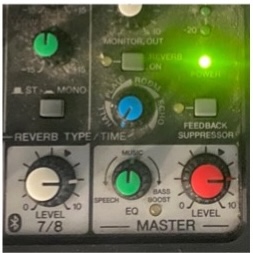
13. Turn on the speaker’s control panel and set the volume of the red dial and nearest white dial to about 75% volume each (unless you prefer to adjust volume using these dials).
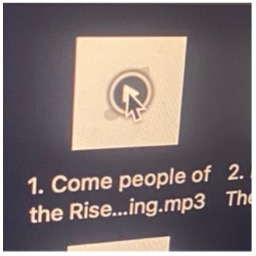
14. Keep the service’s folder open, ready to press the play button on each backing track. Adjust volume using F11 and F12 (or Shift + Option + F11/F12 for micro adjustments).
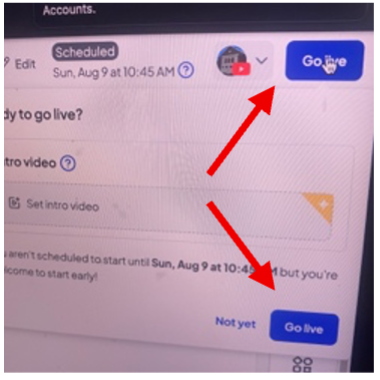
15. Be ready to press ‘Go Live’ (and once again in the pop-up window) to start the livestream. ‘End stream’ will then appear, ready for the end.
16. If Judith is present, ensure Bluetooth is enabled via the icon in the top toolbar and connect to the ‘Q1’ bluetooth headset once she or Sterling has switched it on.
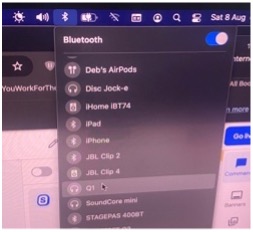
IMPORTANT: Once connected to the ‘Q1’ headphones, click the speaker icon on the top toolbar and ensure ‘Headphones’ is the selected audio output device, not Q1!
Thanks so much!
Projector Setup
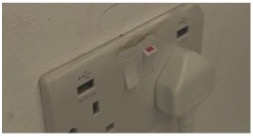
1. Ensure wall-mounted extension plug behind piano is on.
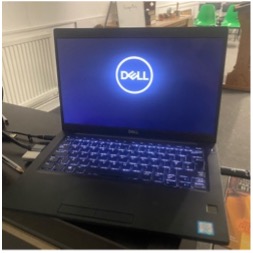
2. Turn on church laptop, ensuring the power cable, HDMI cable and long black USB cable (for remote clicker) are plugged in. They should always be!
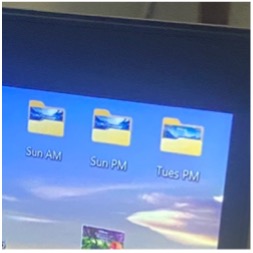
3. Locate and open the appropriate PowerPoint presentation on the top-right corner of the desktop (in a folder or as a standalone file) then start the slideshow.
4. Turn on the projector using the projector remote. If it doesn’t display properly, press Windows key + P to switch to the ‘Duplicate’ or ‘Extend’ mode.